2016 wasn't as rich in epicness as 2015 from a photographic perspective for me, however, that year will always be difficult to match. It was still a really prosperous year, I met alot of really great people and made alot of epic portraits.
Hamish. A portrait for Decembeard. Photo Credit Paul Alsop.
The year started as 2015 left off, I was making portraits for 'DECEMBEARD' the hairy face of Bowel Cancer awareness in New Zealand.
The plan for the beard project was to make a collection of portraits that would be exhibited in a gallery and also as a book at the end of 2016. It has certainly been a challenge getting support for this project and at the time of writing publishers suggested waiting for a few years before approaching them, so this will be an ongoing project over the next few years. Watch this space!
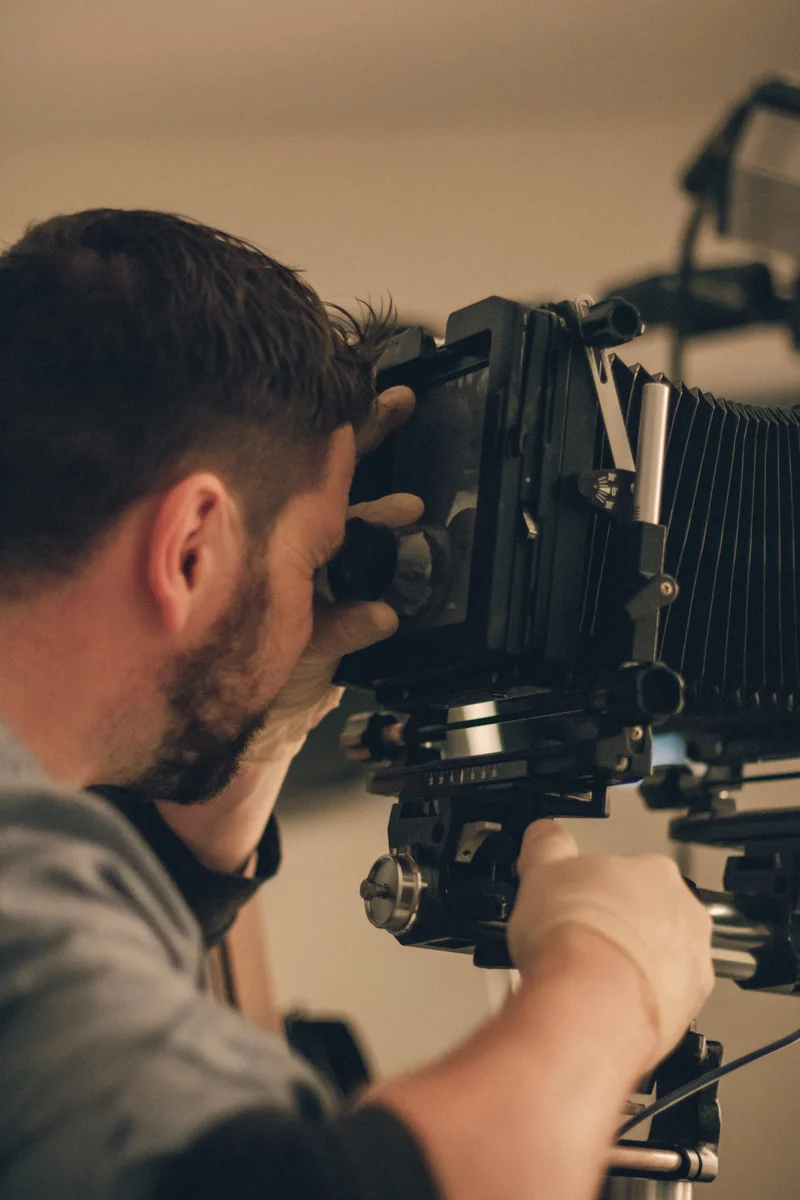
January saw the 6 hour round trip to Auckland and Kingsize Studios to continue making portraits for 'The Auckland Project' with Luke White.
Making portraits with Luke White for our ongoing portrait series 'The Auckland Project'. Photo Credit: Lee Howell.

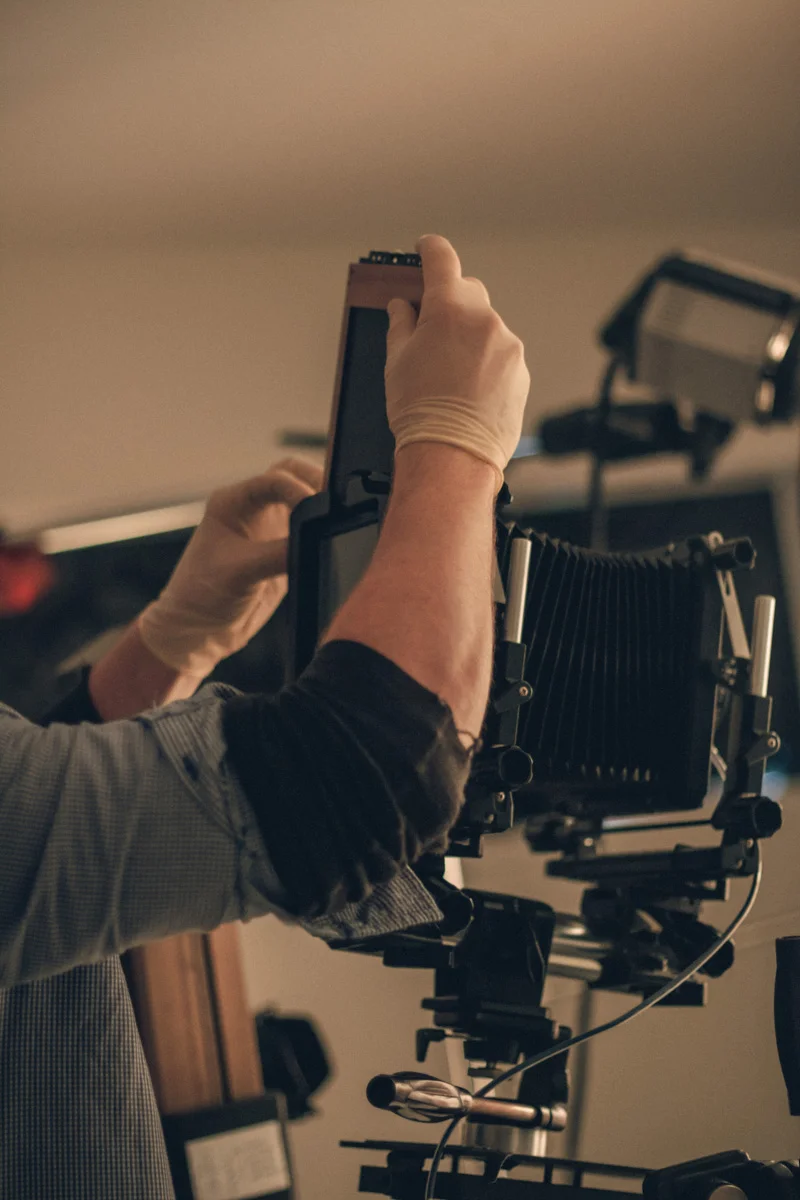
Making portraits with Luke White for our ongoing portrait series ' The Auckland Project'. Photo Credit: Lee Howell.

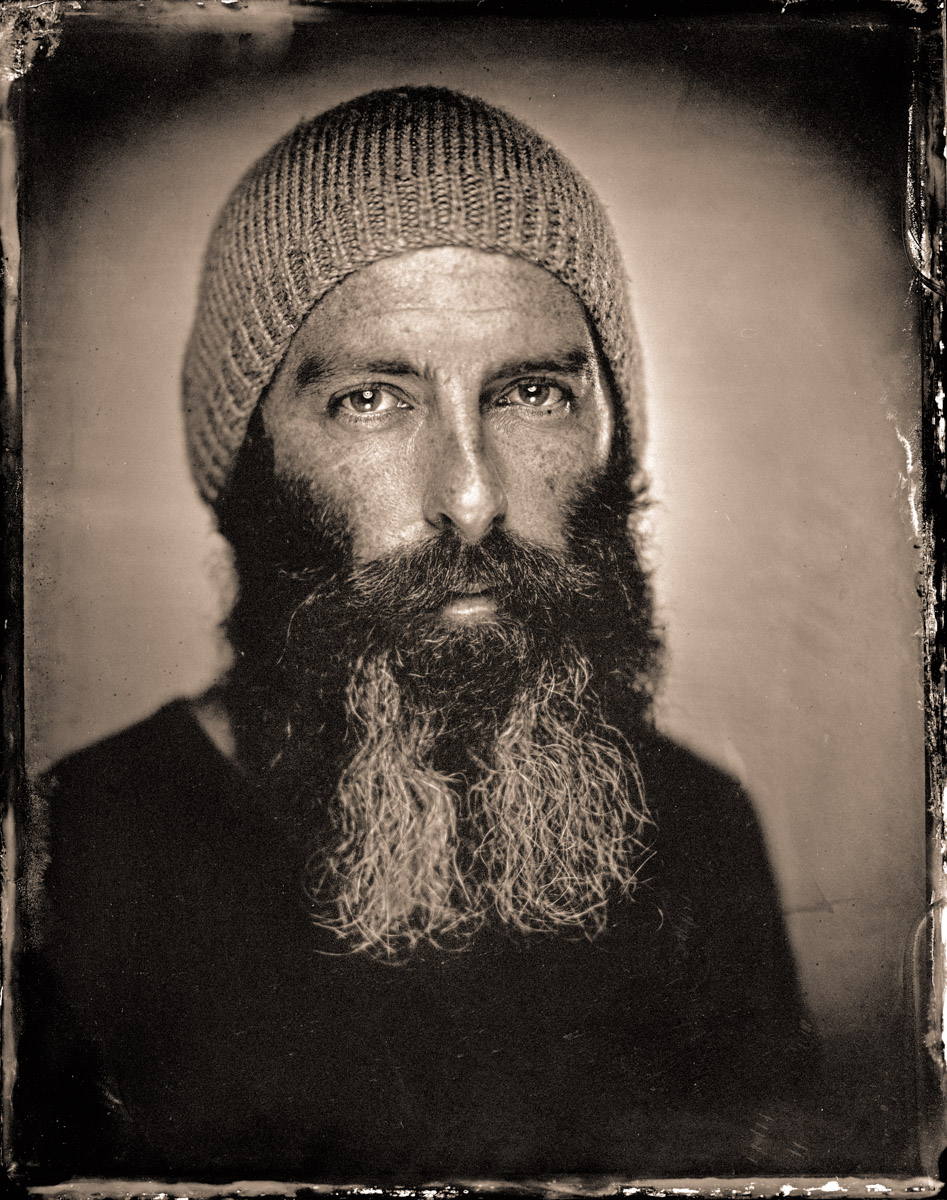
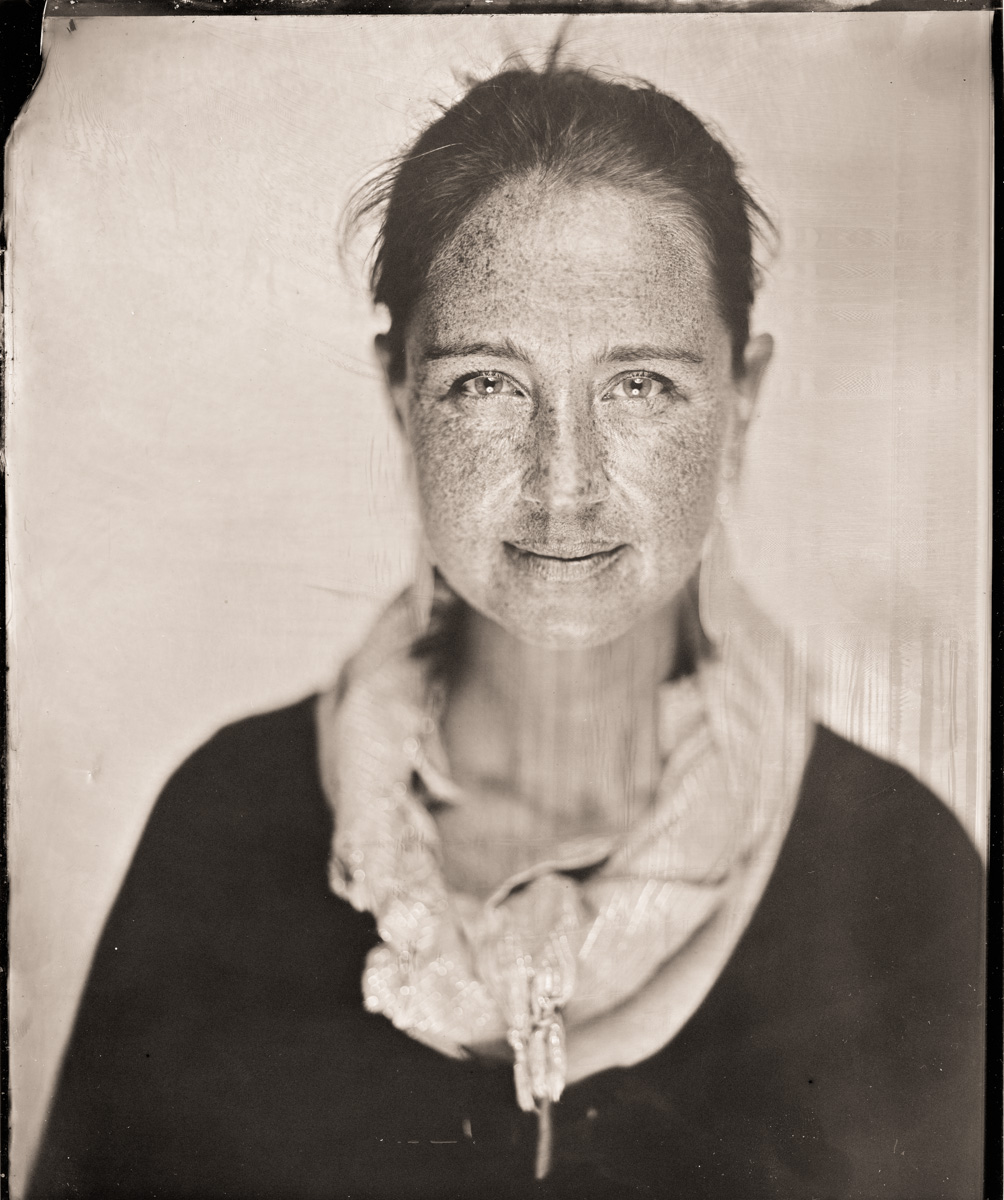
A Wet Plate Collodion Tintype of Colin Hoy. Image Credit: Paul Alsop and Luke White
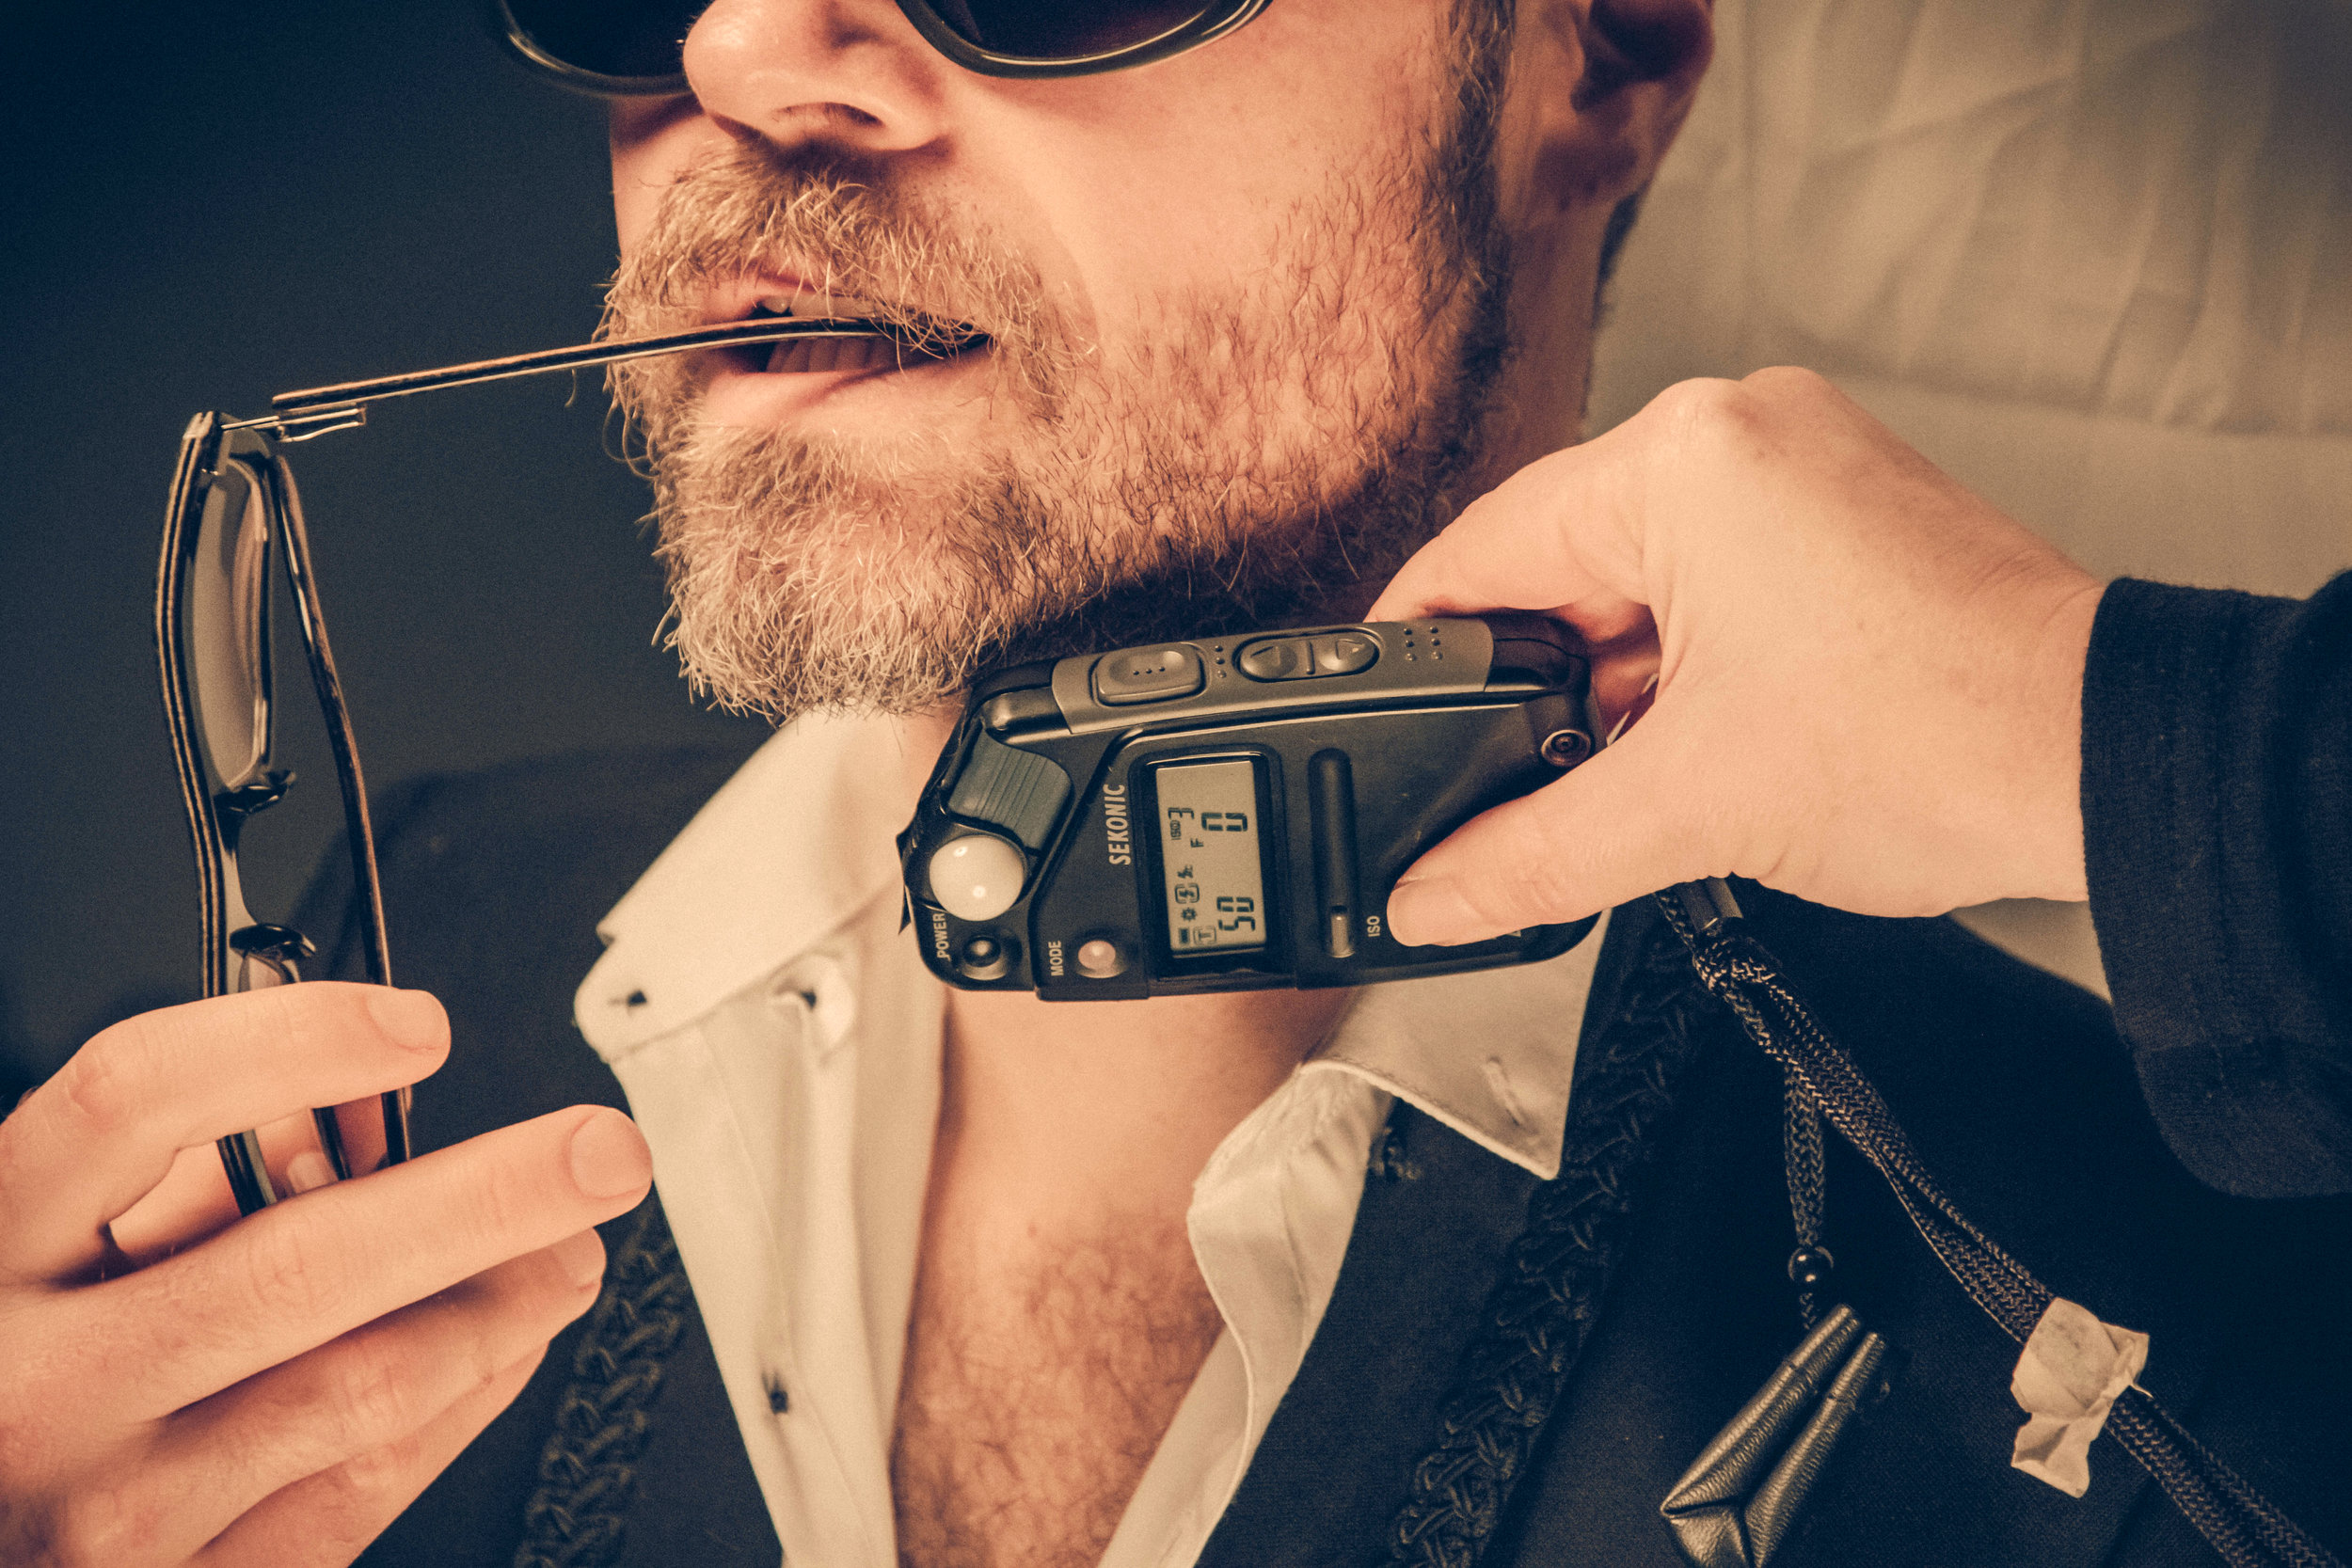
For the most part of 2016 I have been working away trying to hone my skills and perfect my craft of making portraits with the Wet Plate Colloion Process. 2016 was a great year for collaborative work, in particular, I have been working with Ani Fourie, an artist from the Bay of Plenty, Ani has been a number of things to me this year, from a technical assistant, to styling and wardrobe through to an enthusiastic encyclopedia of inspiration for a number of my portraits.
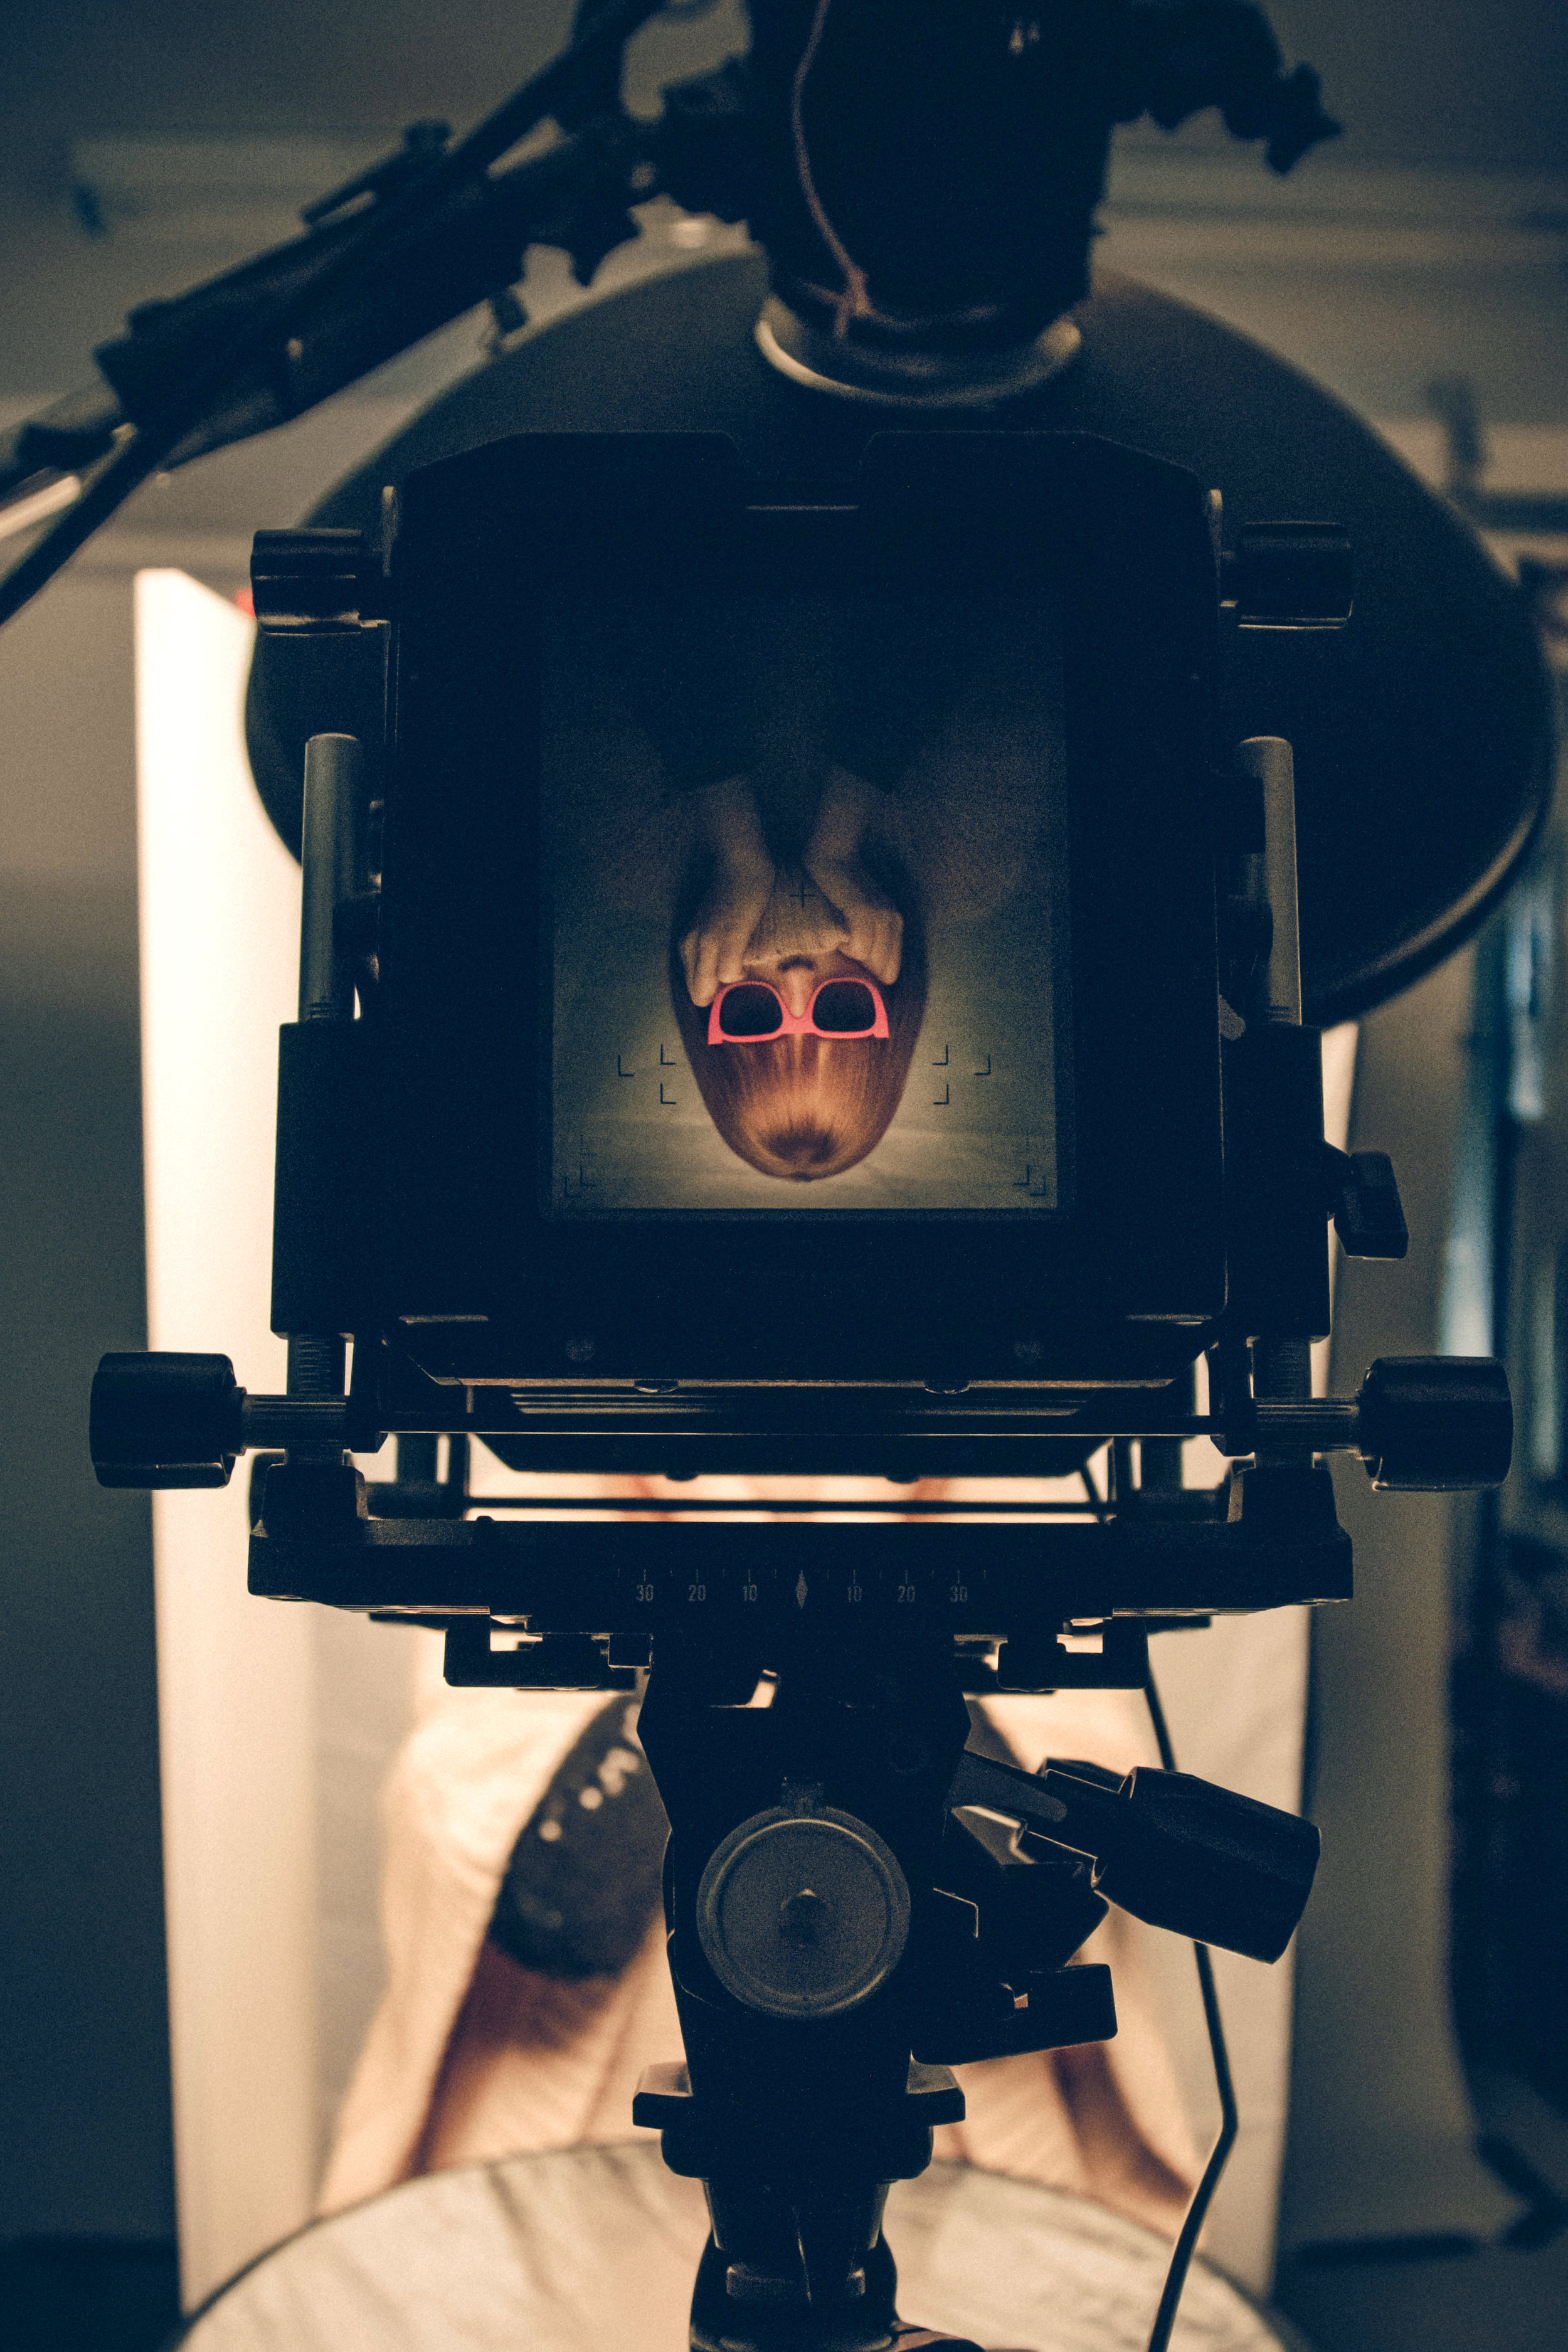
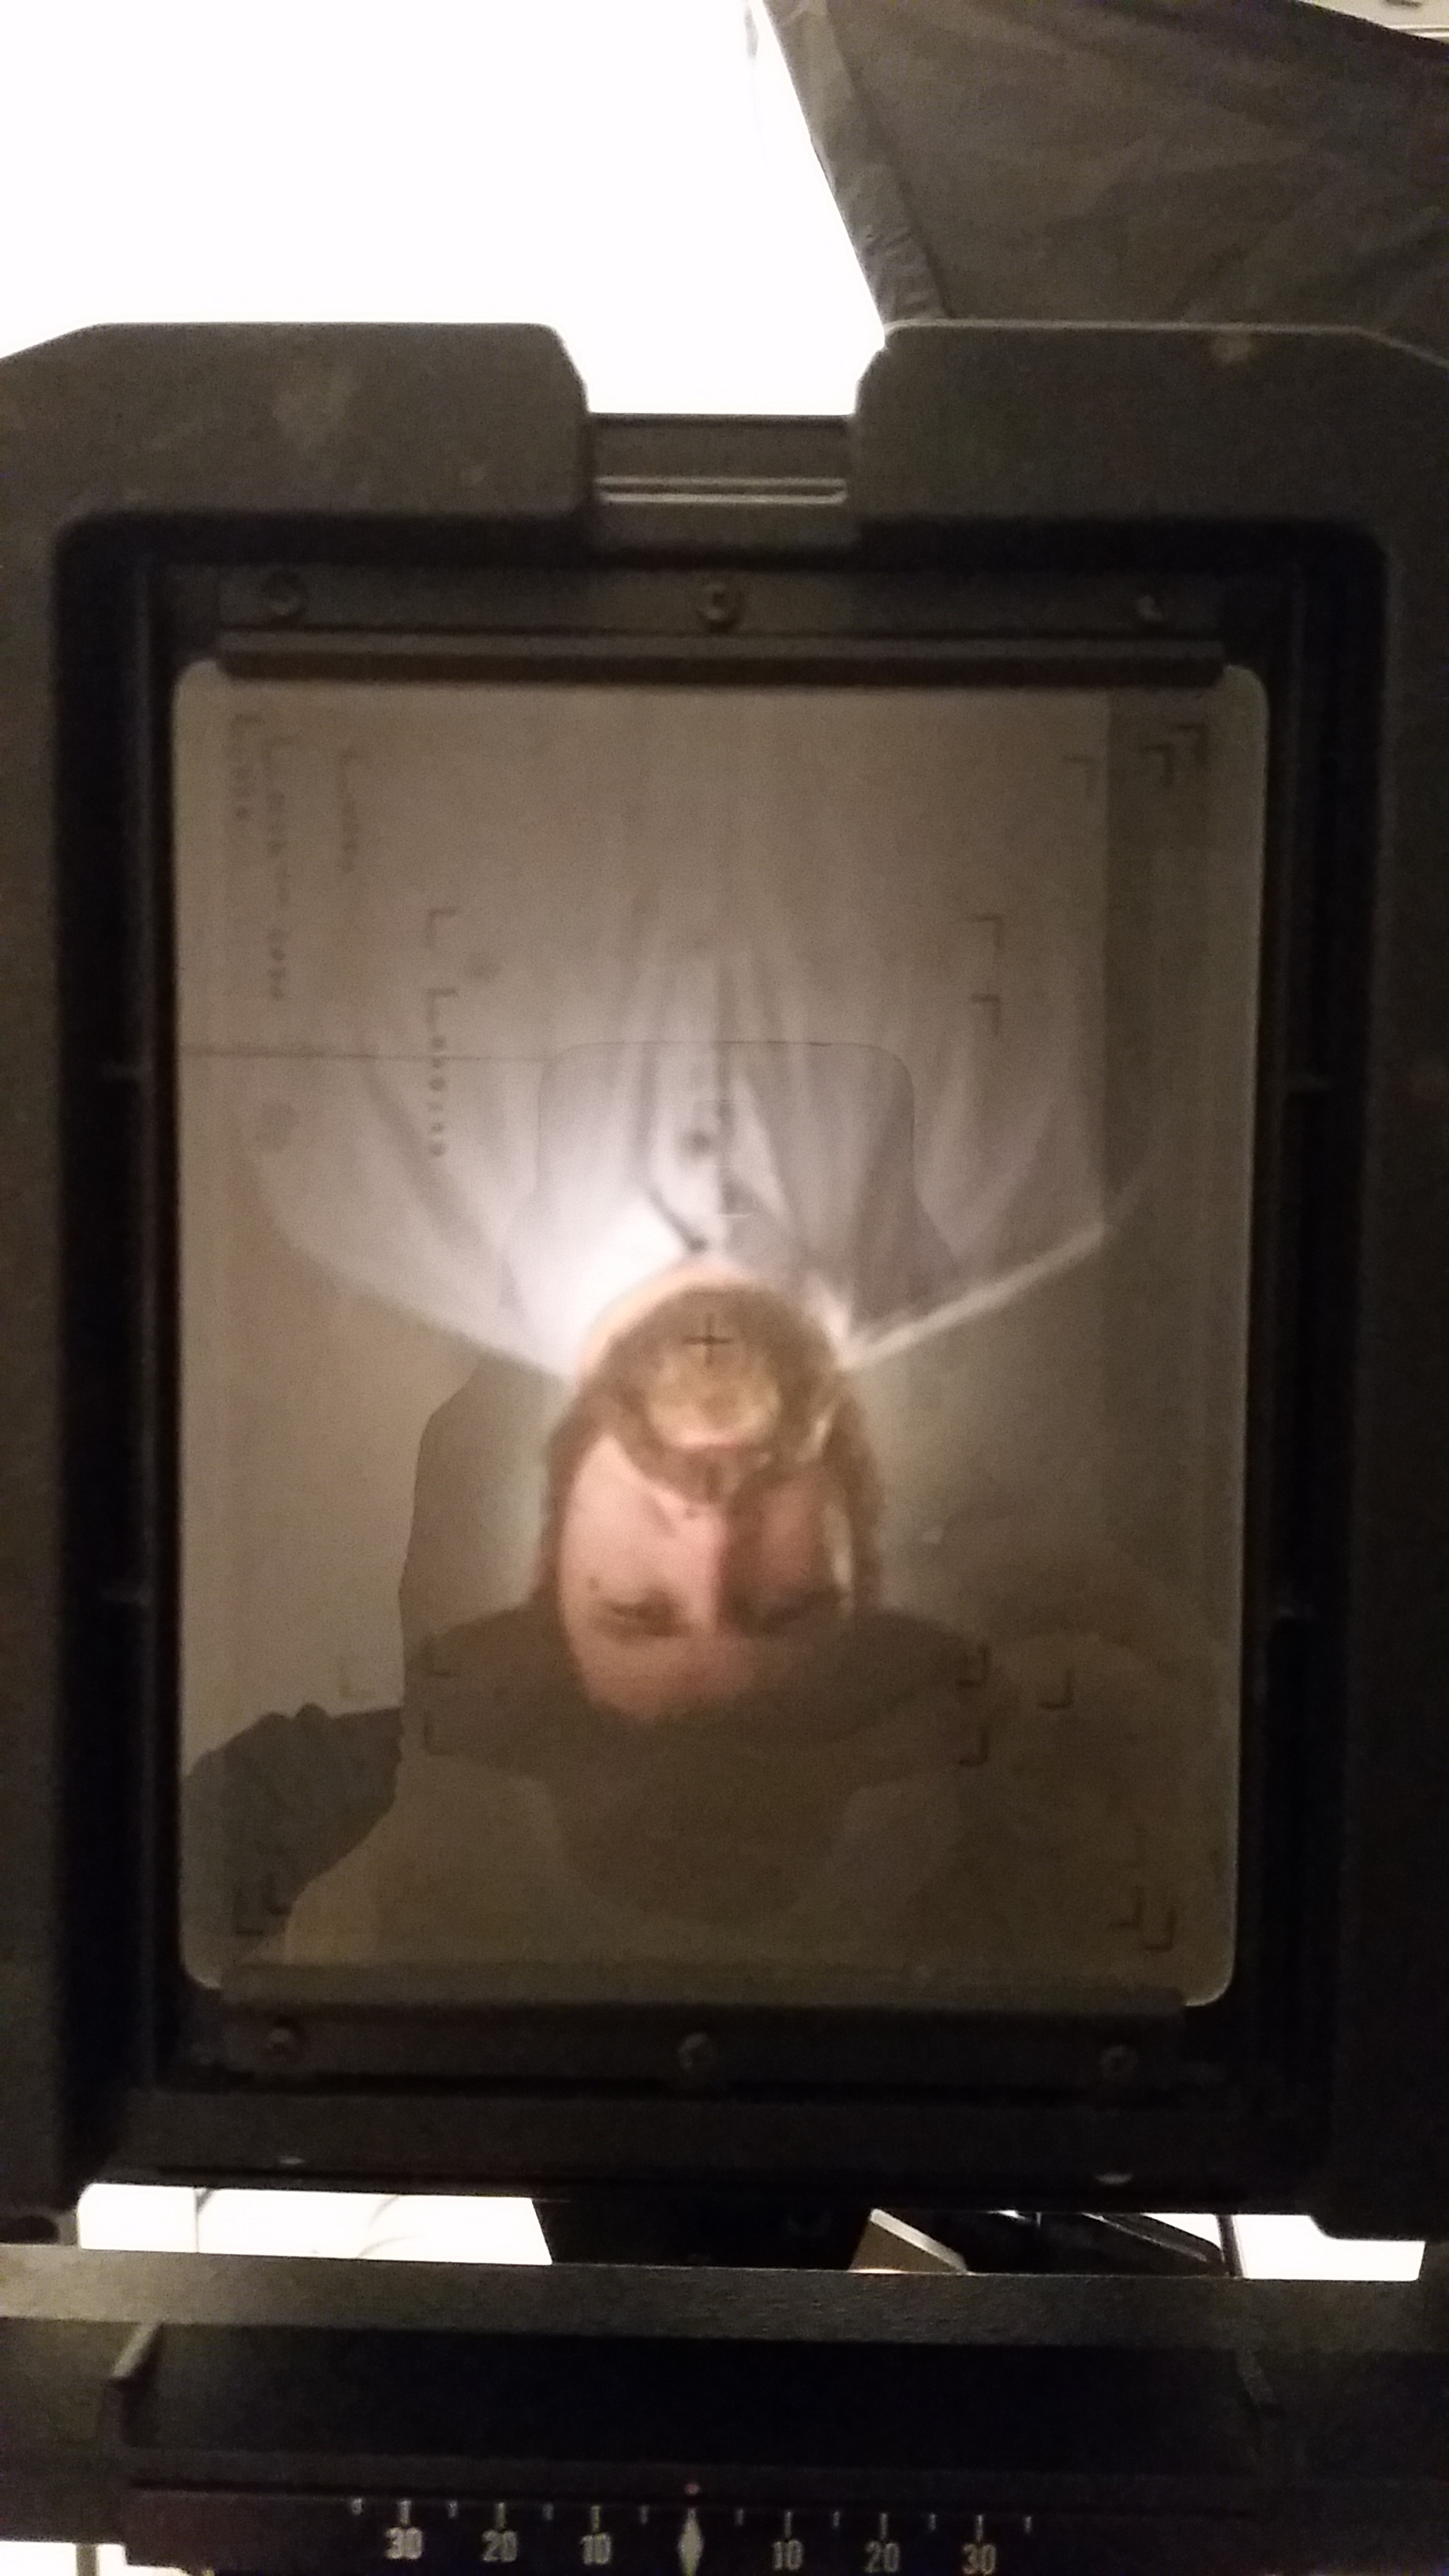
Ani was the only person to witness my 'tent cam' that I constructed in my garage, a prototype for a future mammoth size camera for making photographic images. Although I haven't made a mammoth sized plate from the camera yet, I did take the opportunity to make a 10 x 12 portrait of Ani with an antique wooden and brass camera I had recently acquired.

'Tentcam'

A mammoth sized portrait from the tent cam
A 10 x 12 inch portrait of Ani I made the day we were checking out the tentcam.
I've had the pleasure of being featured by a few publications this year;


Amateur Photographer - a photography magazine from the UK, published an article on my photography in their February edition. You can read the article here.
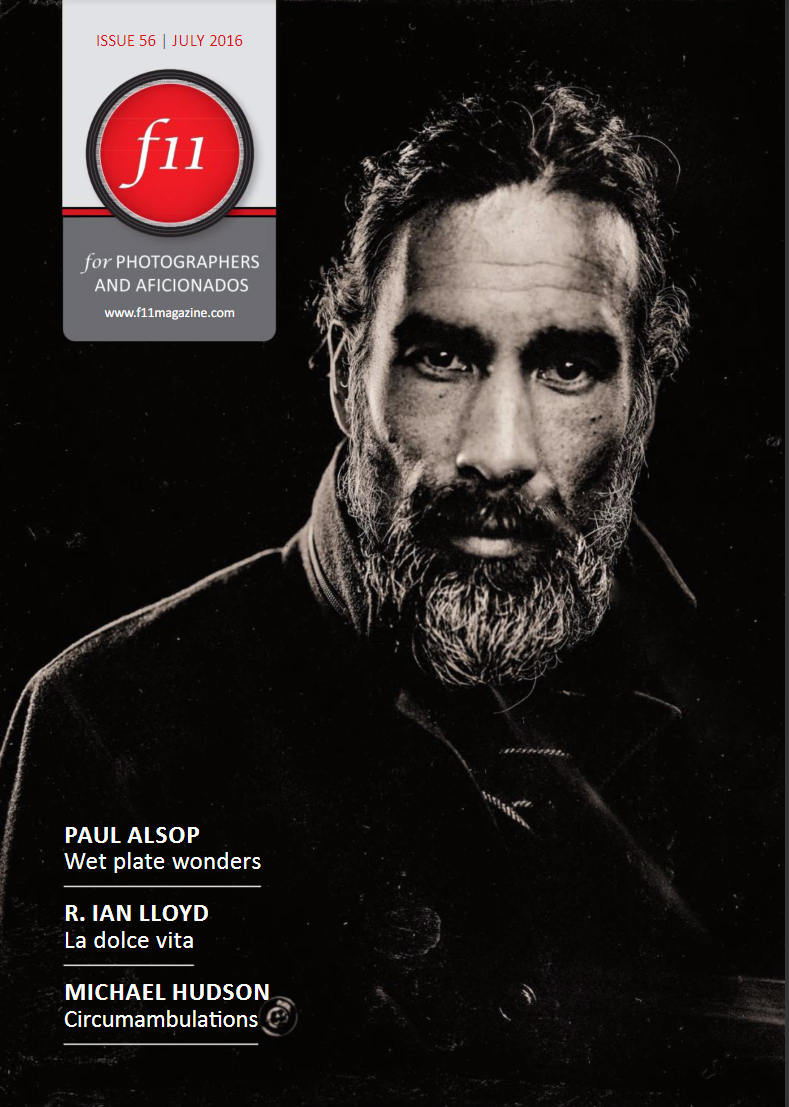
f11 - a New Zealand photography magazine. You can read the article here.
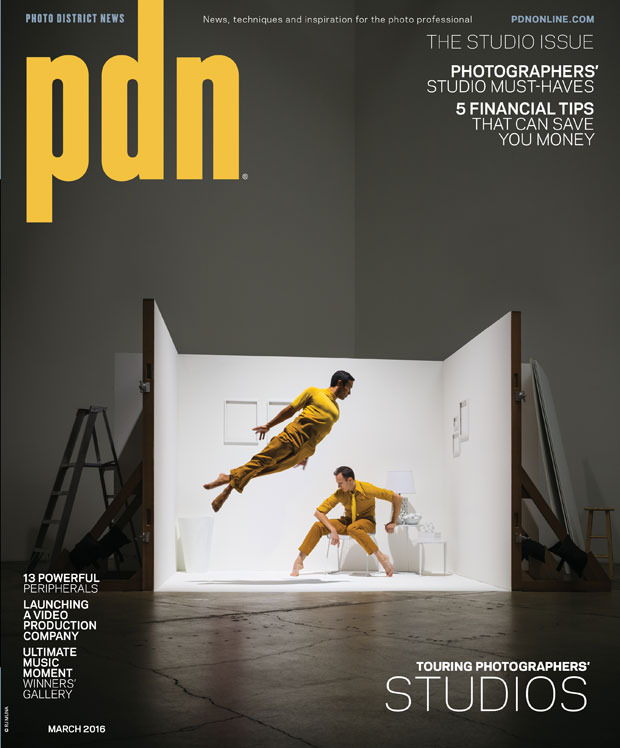
PDN - an international photography magazine out of the USA did a piece on The Auckland Project, interviewing Luke and I. You can read the article here.
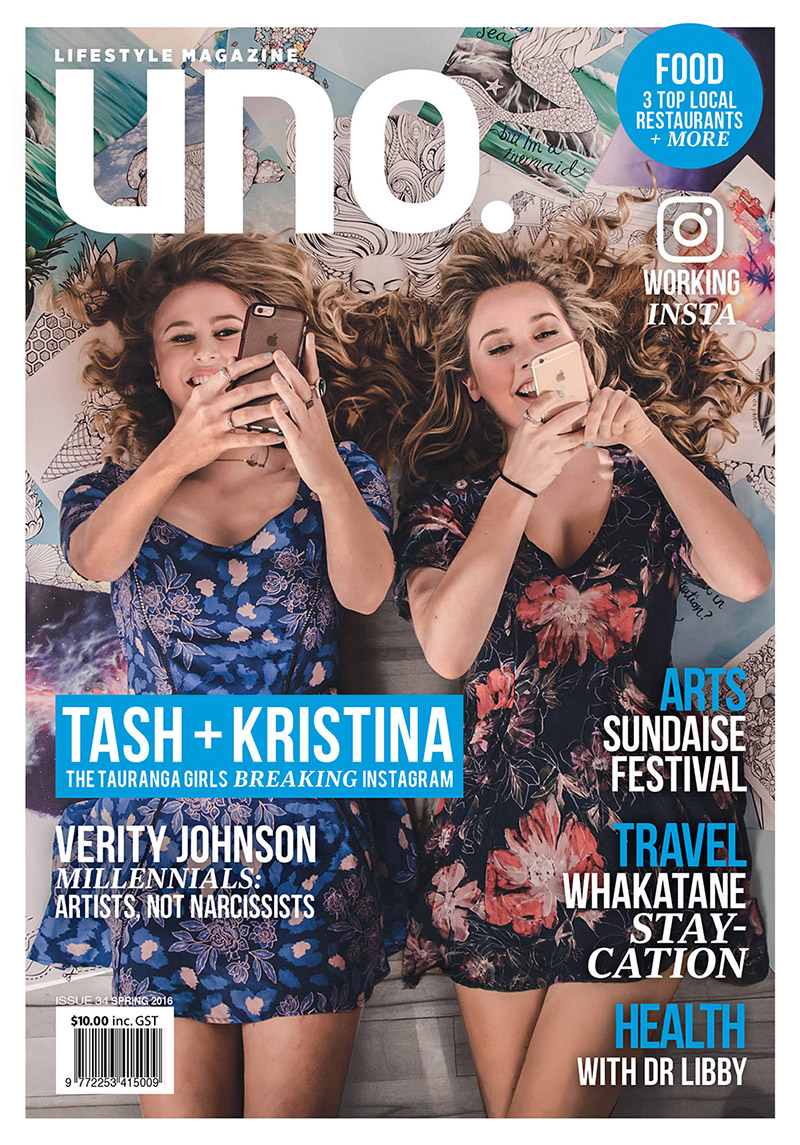
Uno Magazine - a New Zealand Lifestyle magazine published a photo essay on my photography and some behind the scenes of a commercial shoot. You can read the article here.
COOPH - an international online photography collective published an article on my portraits of children. You can read the article here.
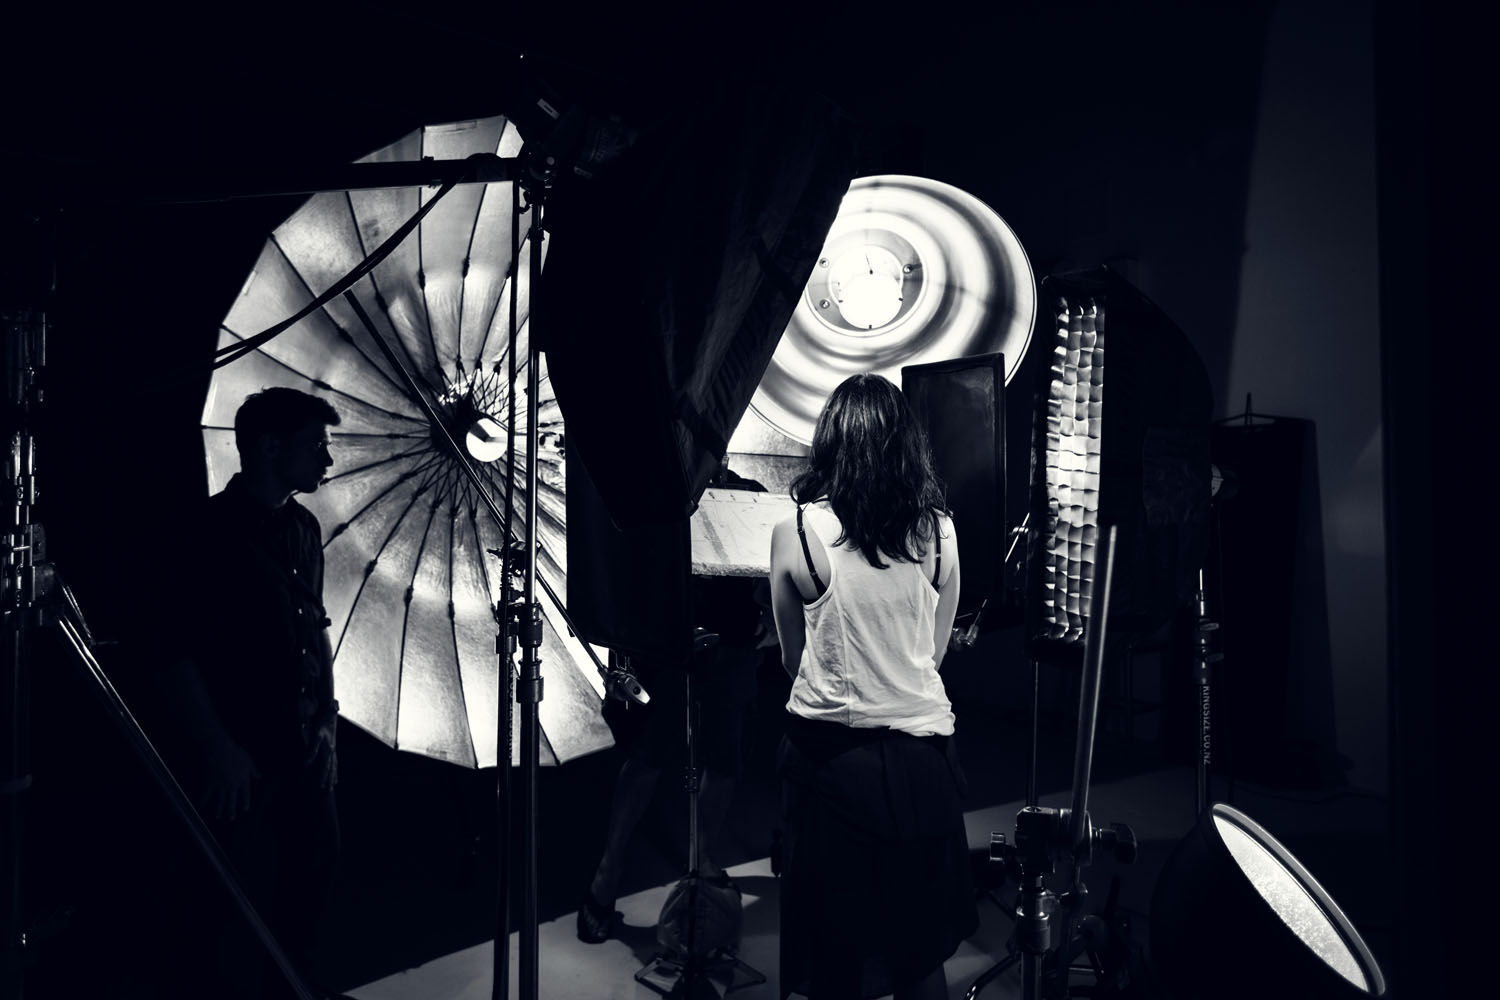
As you will see from the Uno magazine article, this was a product of a collaboration / commercial shoot for BLUR Eyecare, who were keen to make unique bespoke portraits for their staff portraits and advertising, the results were 3 sets of 4 very different images, it was a great pleasure to work with these gyus who have an excellent ethic to their work and presentation.

Blur Eyecare shoot BTS. Image Credit: Shawn Rolton.
Blur Eyecare shoot BTS. Image Credit: Shawn Rolton.
Blur Eyecare shoot BTS. Image Credit: Shawn Rolton.
Alot of this year has been dedicated to none-photographic ventures, like raising a family, building a house, furthering my career in skin cancer medicine and trying to make sense of how Donald Trump became the President elect for the USA!


Social media continues to grow, I've just been informed of my 9 best portraits of 2016, according to Instagram, it must have been a close call between these and more as I've made so many great portraits this year, but this here is what Instagram reckons ....

Looking forward to 2017, I have absolutely nothing in the pipeline at the time of writing, so it's like I am staring at a blank canvass ..... head down, bum up, continue to work at my craft and keep eyes and ears open for opportunity knocking!